
Meta Mediation with AdMob: Android Integration Tutorial
In this step-by-step tutorial, you will learn how to set up AdMob Meta mediation effectively and accurately. In mobile app advertising, mediation boosts ad revenue by helping developers manage and optimize multiple ad networks within their apps. Meta Mediation with AdMob enhances your app’s revenue by optimizing ad networks. This integration ensures that your app displays the highest-paying ads, maximizing your earnings.
By the end of this guide, you’ll have a fully functional integration that optimizes your ad performance.
Setting Up Meta Mediation with AdMob
First, configure AdMob in your app. Start by creating an AdMob account if you don’t already have one. Then, set up an ad unit within the AdMob dashboard. This ad unit will serve as the foundation for your ad mediation.
After setting up, integrate the AdMob SDK into your app. The SDK handles ad requests, ensuring a smooth mediation process.
Android App Requirements
1. Google’s Latest Mobile Ads SDK
2. Android API level 21 or 21+
3. Meta Audience Network Adapter
Step 1: Set up an account with Meta Audience Network
Sign up and log in to the Business Manager (Meta)
Next, fill in your name, email, business name, and country name. Finally, complete your account creation.
Step 2: Meta Monetisation Manager – Create a property
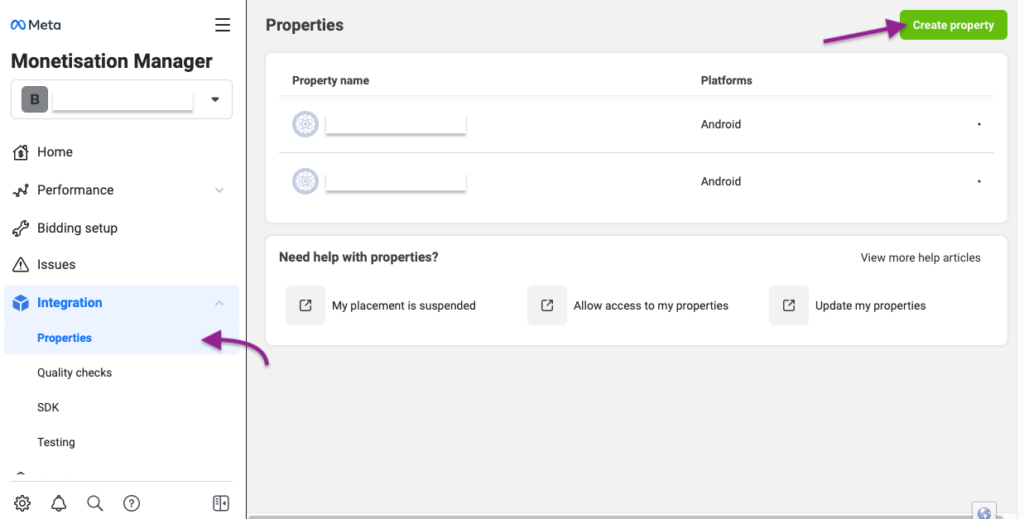
Next, create a property for your app. Go to Integration > Properties in the Monetization Manager. Then, click the Create property button in the top right corner.
Next, select the ‘Create new property‘ radio button in the Meta Monetization Manager. You’ll be prompted to enter a name for your property. Choose a meaningful name that’s easy to identify. Finally, click the ‘Create property’ button.

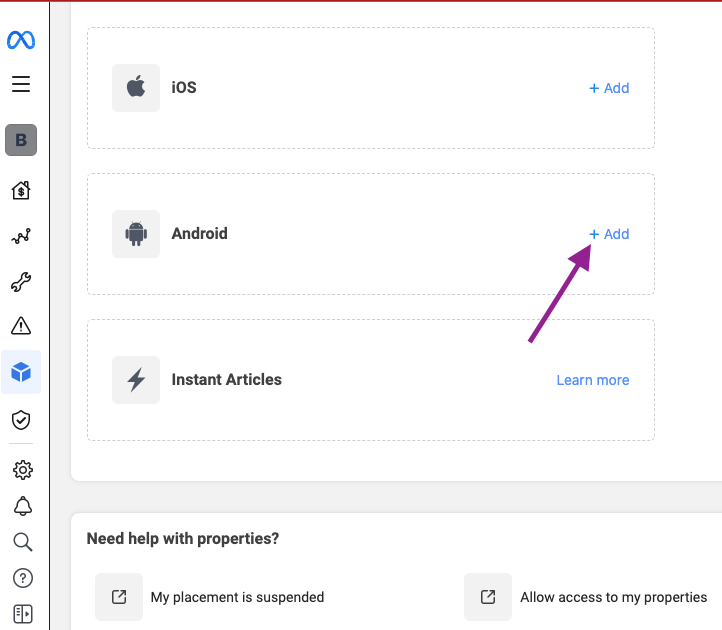
Since we’re integrating Android Meta Audience, select ‘Android‘ and click the ‘+Add‘ button.
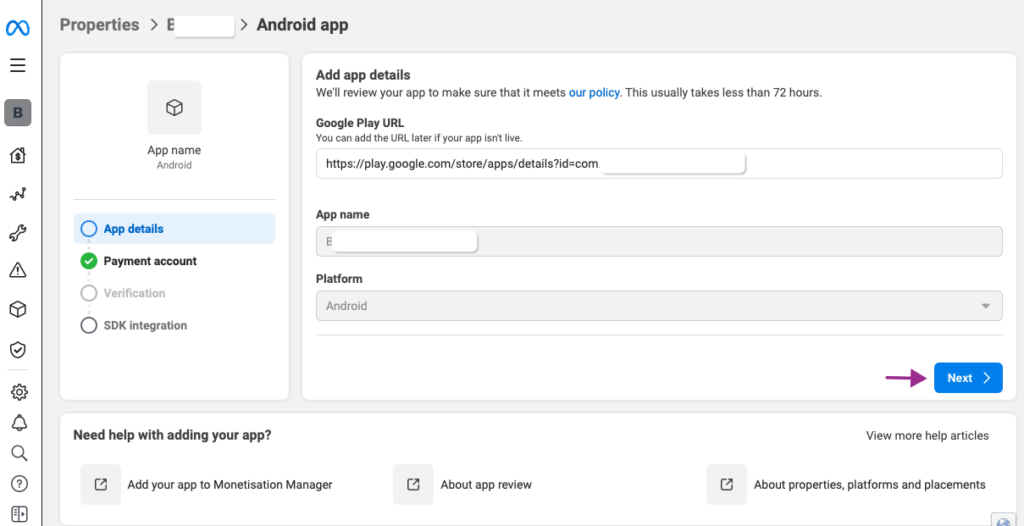
Before proceeding, make sure your app is published on the Google Play Store. If it is, enter the Google Play URL. The system will automatically fetch the app’s name and populate the corresponding Platform field. Finally, click the button to proceed and wait for the payment account selection.
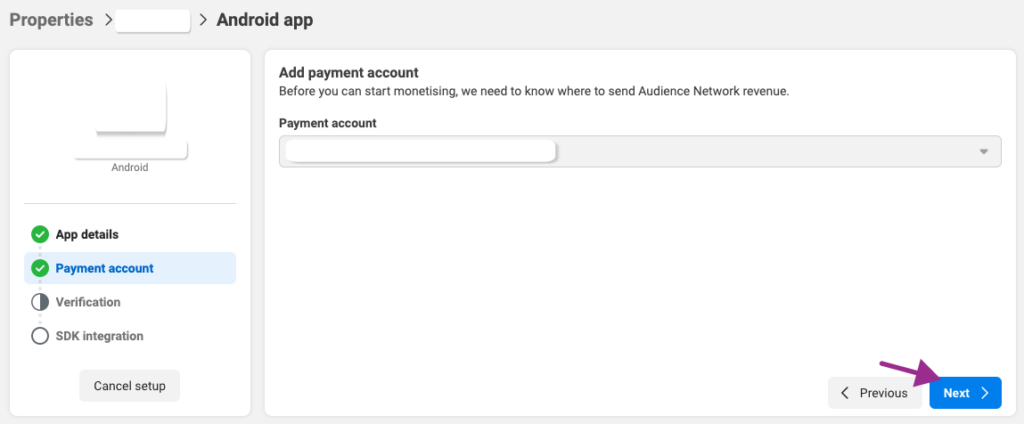
Choose a payment profile or name from the dropdown menu, then click the Next button.
Before setting up mediation with AdMob, your app must be verified. Facebook (Meta) also requires an app review. To verify your app, create an app-ads.txt file for your app’s website (which must be included in the Google Play Console). Copy the text from the provided source and paste it into your app-ads.txt file.
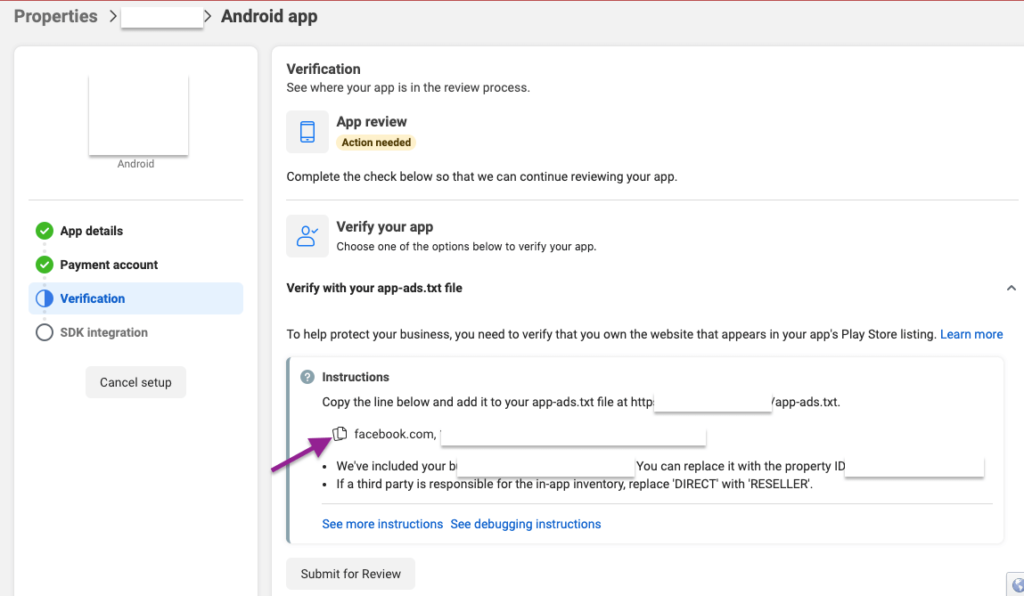
Click ‘Submit for Review’.
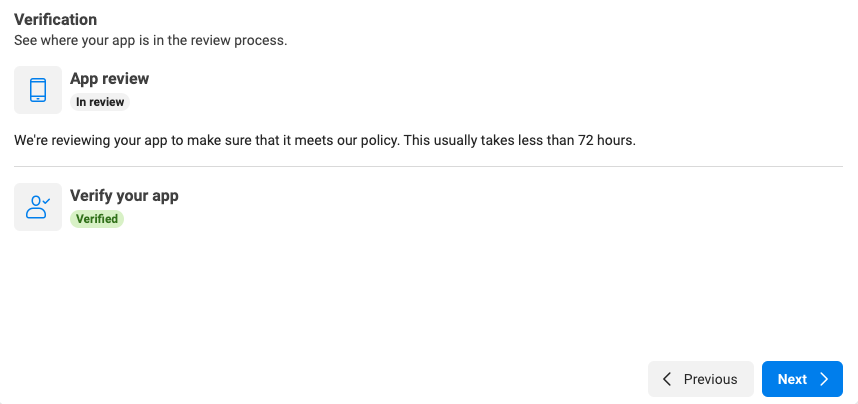
Click ‘Next’.
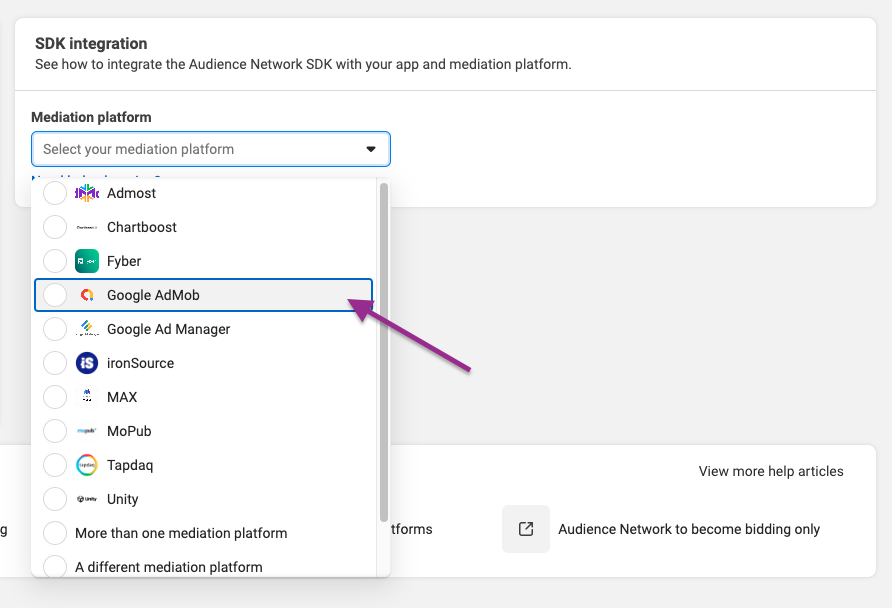
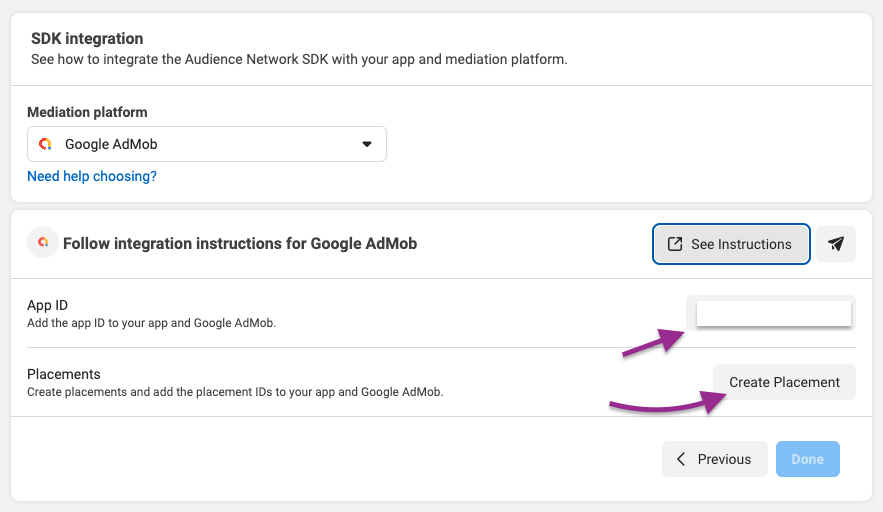
From the dropdown menu, select ‘Google AdMob’ as your mediation platform.
In the next step, you’ll see an App ID. To create a new placement, click the ‘Create placement’ button.
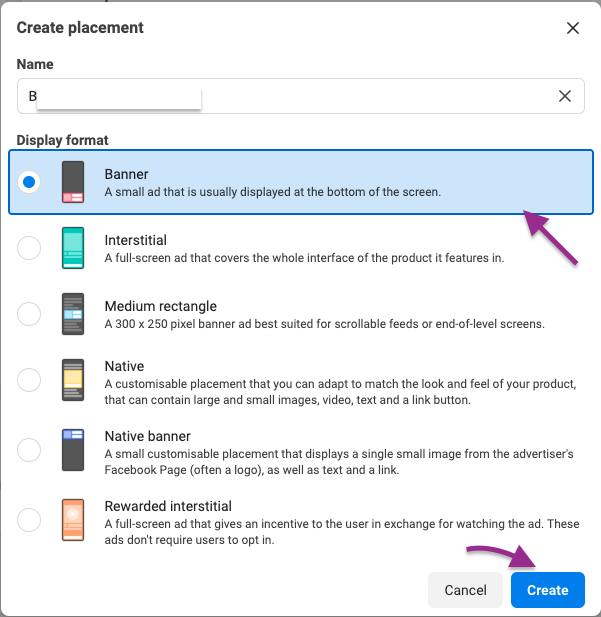
If your app contains a banner ad placement, select ‘Banner’ from the Display format dropdown. Don’t forget to give your placement a name (e.g., ‘ByAdBanner’). You can use any name for your banner ads or interstitial ads.
Finally click on ‘Create button’.
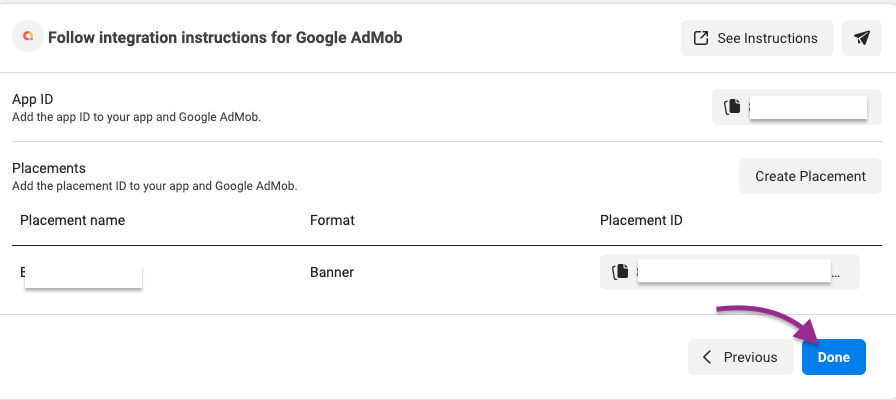
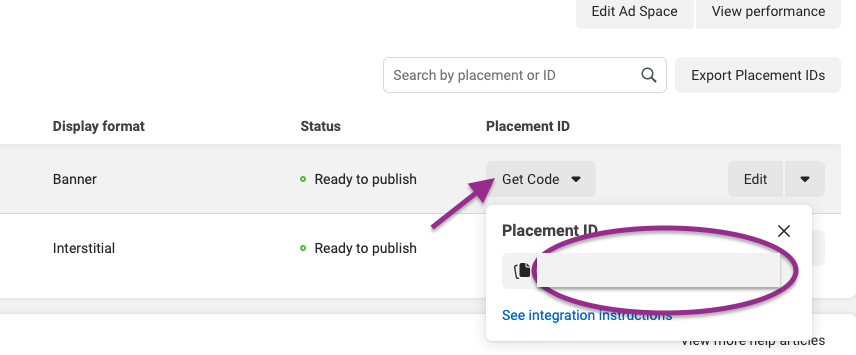
After completing the previous step, you’ll see a new placement with its format and Placement ID. Make sure to copy the banner ad Placement ID to a notepad or text editor for future reference.
Click on ‘Done’
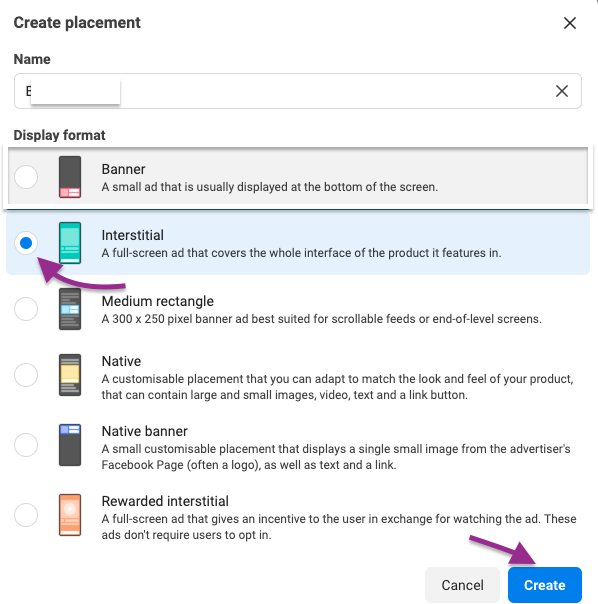
If your app has multiple ad placements where you typically use AdMob ads, such as interstitial ads, you can fill these placements with Meta ads using bidding. To do this, create an interstitial ad placement similar to the banner ad placement you created earlier. Finally, click the Create button to generate another Placement ID.
Step 3: Prepare for Ad Testing (Meta / Facebook Ads)
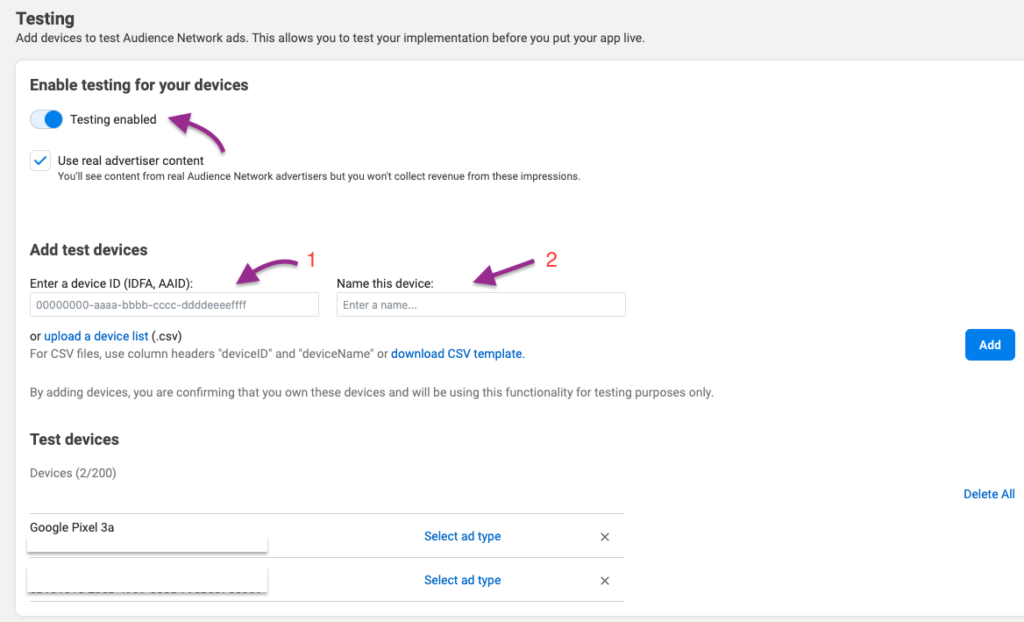
It’s crucial to thoroughly test your app ads before launching them. Developers must ensure that ads are tested on devices that have been enabled for testing.
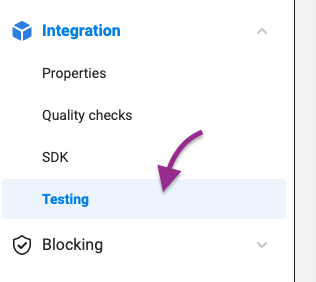
Go to Integration and select Testing. Enable the ‘Testing enabled‘ toggle. Add your test device by entering its device ID (IDFA or AAID) and giving it a name. Finally, click ‘Add‘.
Step 4: Prepare AdMob for Meta Mediation
After setting up, integrate the AdMob SDK into your app. The SDK handles ad requests, ensuring a smooth mediation process. Make sure to follow the documentation for both AdMob and Meta Audience Network to ensure proper configuration.
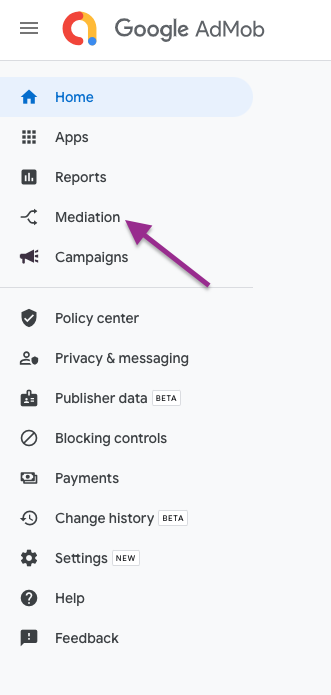
Open your AdMob account and navigate to the Mediation section
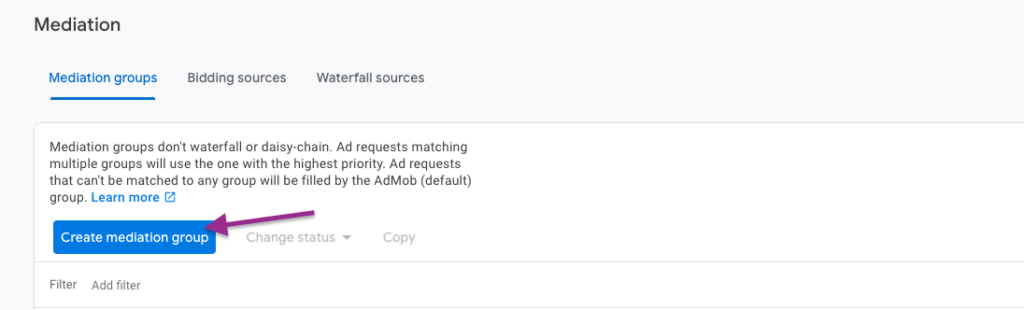
Step 5 : Create Mediation Groups
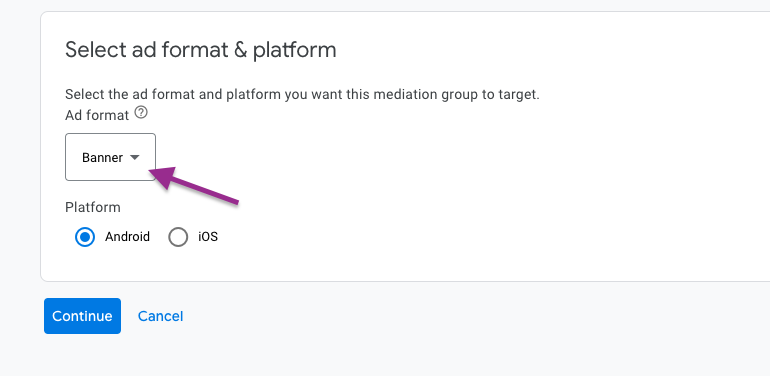
Let’s create a mediation group and select ‘Banner’ from the Ad format dropdown. Then, choose ‘Android’ as the Platform.
Name, Location, and Status are required fields. Please fill them in accordingly.
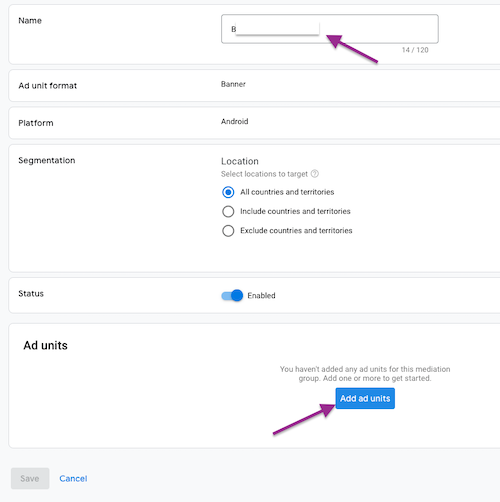
Click on ‘Add ad Units’
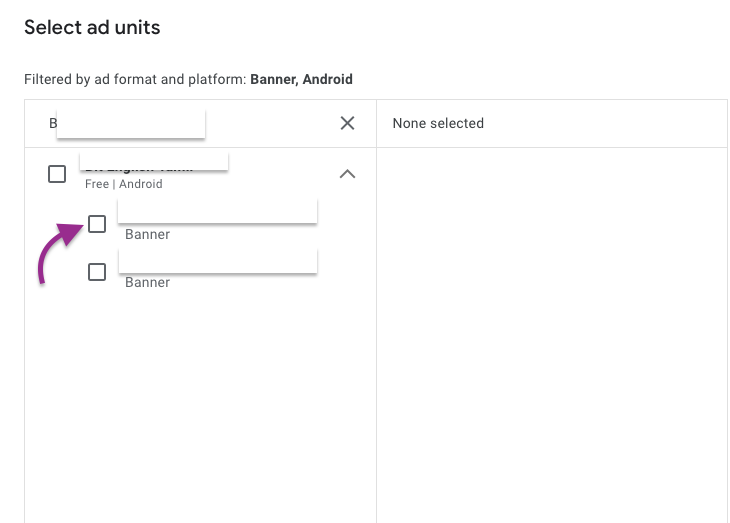
Finally, select the ad units from your existing app, such as banner ads.
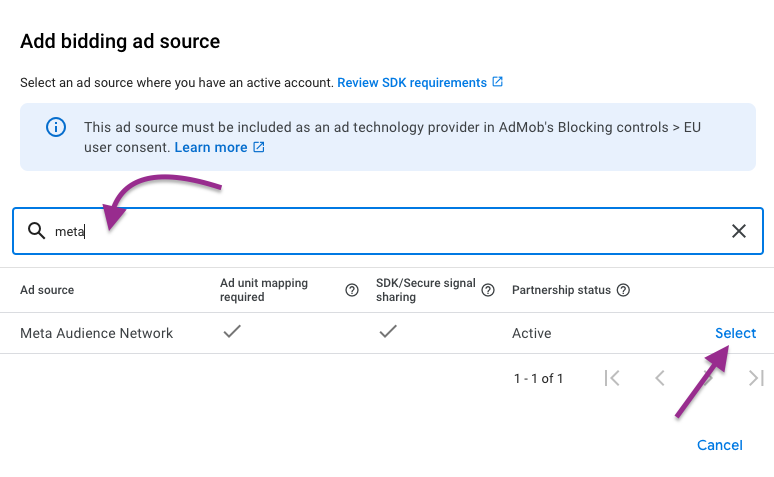
Step 6: AdMob Bidding : Add a source
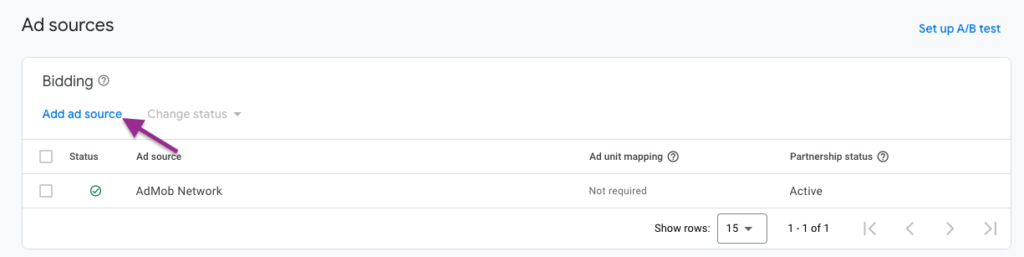
It’s time to add a bidding source. Click the ‘Add a source’ link in the top left corner. You can search to find the Ad source.) Select ‘Meta Audience Network’ from the list.
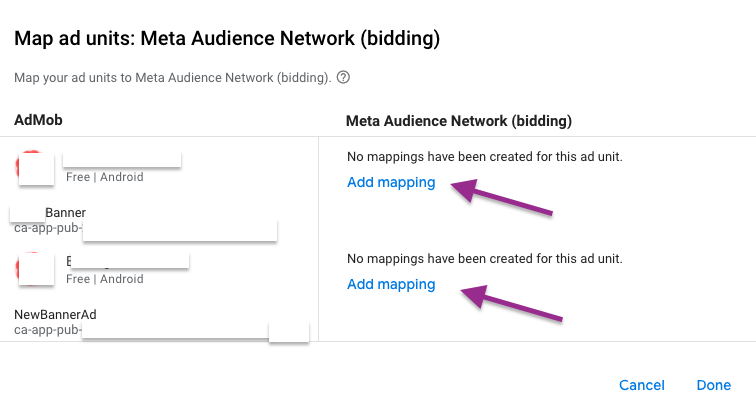
Next, we need to map all ad units from Meta to AdMob. Click the ‘Add mapping‘ link. Add the Placement IDs you previously copied to a notepad or text editor. You can also find these Placement IDs in the Meta Monetization Manager. Select the ‘Get Code‘ dropdown to retrieve the corresponding Placement IDs for your banner ad units.
If you plan to use mediation with your app’s interstitial ads, repeat the same steps we followed for banner ads (Step 5). Ensure you select ‘Interstitial’ as the Ad Format, then follow Step 6.
Step 7: Add Test Devices to AdMob
Before starting your coding session, ensure that your testing devices (mobile or tablet) have been added to the ‘Test devices’ section of AdMob. Open AdMob, go to Settings > Test devices, and add your test devices. You can add multiple devices using their Advertising ID (AAID) or IDFA.
Learn More : Google Ad Inspector for Ad Mediation: Android Guide
Step 8: Android Studio Setup for AdMob Mediation with Facebook (Meta)
Task 1
Open your Android project and add the following permission to your AndroidManifest.xml file:
<uses-permission android:name="com.google.android.gms.permission.AD_ID"/>Task 2
build.gradle(Project)
Add google() and mavenCentral() to repositories.
buildscript {
    repositories {
        jcenter()
        maven {
            url 'https://maven.google.com/'
            name 'Google'
        }
        google()
        mavenCentral()
    }
    dependencies {

        classpath 'com.android.tools.build:gradle:8.1.4'
        classpath 'com.google.gms:google-services:4.4.2'

      }
}

allprojects {
    repositories {
        jcenter()
        maven {
            url 'https://maven.google.com/'
            name 'Google'
        }
        google()
        mavenCentral()

    }
}
Task 3
build.gradle(:app)
Add the following facebook mediation and AdMob dependencies:
implementation  'com.google.ads.mediation:facebook:6.17.0.0'
implementation 'com.google.android.gms:play-services-ads:23.2.0'
Step 9: Test Mediation
To test Meta mediation, you won’t need the AdMob Mediation Test Suite. This suite has been discontinued. The latest version of the AdMob SDK is capable of handling mediation testing on its own. Let’s use Ad Inspector instead of the AdMob Mediation Test Suite.
MainActivity : onCreate()
// Log the Mobile Ads SDK version.
Log.d(TAG, "Google Mobile Ads SDK Version: " + MobileAds.getVersion());
Launch Ad Inspector
MobileAds.openAdInspector(HomeActivity.this, new OnAdInspectorClosedListener() {
    public void onAdInspectorClosed(@Nullable AdInspectorError error) {
        // Error will be non-null if ad inspector closed due to an error.
    }
});
Let’s test!
// Ad Testing: | Remove from final update.
List<String> testDeviceIds = Arrays.asList("YOUR-DEVICE-ID_HERE");
RequestConfiguration configuration =
        new RequestConfiguration.Builder().setTestDeviceIds(testDeviceIds).build();
MobileAds.setRequestConfiguration(configuration);
// facebook
AdSettings.addTestDevice("-Test-ID-Here-");
Run your app! You did it.
Final Thoughts :
Benefits of Using Meta Mediation with AdMob
Meta Mediation with AdMob simplifies ad management. Instead of dealing with multiple ad networks separately, you can manage everything within the AdMob dashboard. This unified platform saves time and reduces complexity.
Meta Mediation also improves fill rates. By integrating multiple ad networks, you increase the chances of displaying an ad when a request is made. This higher fill rate leads to more revenue opportunities.
Additionally, Meta Mediation allows for better ad quality control. You can set up ad filters to block low-quality or inappropriate ads. This control ensures that your users have a positive experience while interacting with ads.
Happy Coding!