
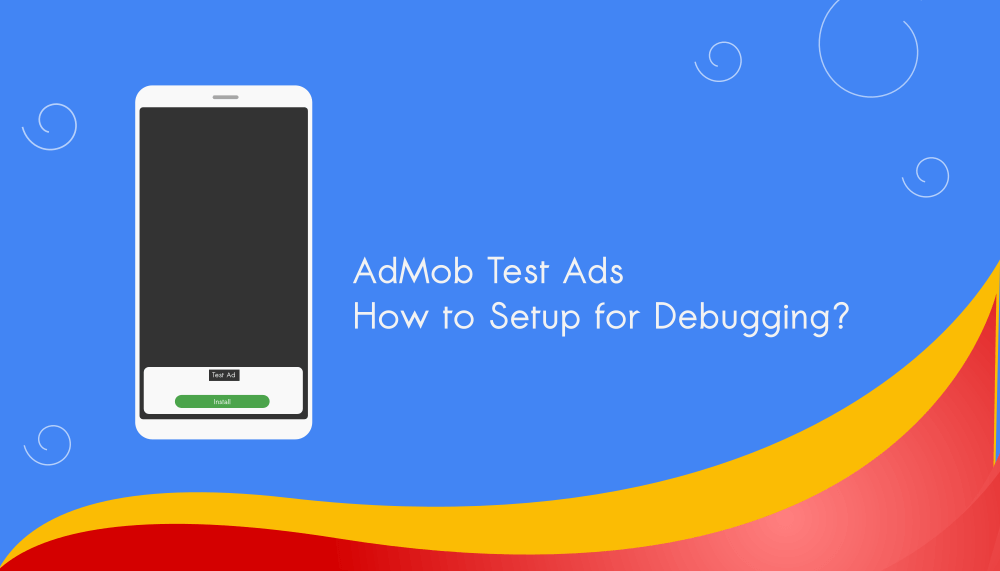
AdMob Test Ads : How to Setup for Debugging?
When perfecting your AdMob integration, it’s crucial to ensure that everything runs seamlessly. It’s important to keep your AdMob account free from policy violations, so always use AdMob test ads in your pre-production apps.
Getting AdMob Test Ads Ids
Before testing your apps with AdMob, you’ll need to obtain the corresponding test ad unit IDs for your ad format. These IDs are specially designed to deliver test ads rather than live ones, preventing accidental clicks or impressions on actual advertisements during the testing phase.
Demo Ad Unit IDs [From Official Document]
| Ad Format | Test / Sample ID |
| Banner | ca-app-pub-3940256099942544/6300978111 |
| Interstitial | ca-app-pub-3940256099942544/1033173712 |
| App Open | ca-app-pub-3940256099942544/9257395921 |
| Adaptive Banner | ca-app-pub-3940256099942544/9214589741 |
| Interstitial Video | ca-app-pub-3940256099942544/8691691433 |
| Rewarded | ca-app-pub-3940256099942544/5224354917 |
| Rewarded Interstitial | ca-app-pub-3940256099942544/5354046379 |
| Native Advanced | ca-app-pub-3940256099942544/2247696110 |
| Native Advanced Video | ca-app-pub-3940256099942544/1044960115 |
| Collapsible Banner Ad | ca-app-pub-3940256099942544/2014213617 |
Implementing Test Ads in Your App
Now that you have the Test Ad Unit IDs, it’s time to implement them into your app. Use the respective IDs in your app’s code, replacing the live ad unit IDs with the test IDs. Ensure that this modification is done exclusively for testing purposes and doesn’t go live with the app release.
Let’s add our devices for testing:
Review the logcat output for a message resembling the example below. This message will display your device ID and guide you on how to include it as a test device:
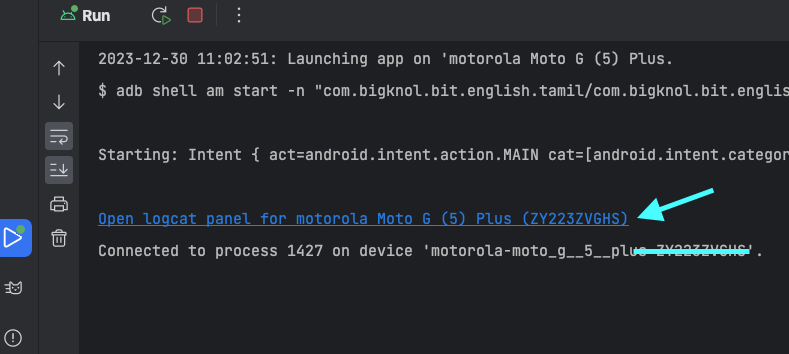
Search for ‘request‘:

Java
List<String> testDevice = Arrays.asList("ABCDEFG1234567890123XXXX");
RequestConfiguration configuration =
    new RequestConfiguration.Builder().setTestDeviceIds(testDevice).build();
MobileAds.setRequestConfiguration(configuration);
Kotlin
val testDevice = Arrays.asList("ABCDEFG1234567890123XXXX")
val configuration = RequestConfiguration.Builder().setTestDeviceIds(testDevice).build()
MobileAds.setRequestConfiguration(configuration)Note: Make sure to delete the code that establishes these test device IDs before launching your app.
Verifying Test Ads
After implementing the test ad unit IDs, it’s essential to verify that the ads are displaying correctly within your app. Launch the app on various devices and simulate different scenarios to confirm that the test ads are being served as expected.
AdMob support various ad formats like banners, interstitials, rewarded ads, and native ads. Ensure that you test each ad format thoroughly within your app to guarantee a smooth and error-free user experience across all ad placements.
Final Validation
Once you’ve implemented, verified, and debugged the test ads comprehensively, perform a final validation round. Run the app on different devices, operating systems(Android Versions), and network connections to ensure consistent performance across diverse environments.


