Let’s Add Your Website to Flutter WebView App
Let’s create a new project like Hello, World in Android Studio.
Remove all the code of main.dart file in Android Studio.
It’s time to create a class that extends the Stateless widget.
WebApp Class
class WebApp extends StatelessWidget
{
  @override
  Widget build(BuildContext context) {
    return MaterialApp(
      theme: ThemeData(primarySwatch: Colors.red),
      home: Scaffold(
        appBar: AppBar(title: Text("Kodia"),),
        body: Website(),
      ),
      debugShowCheckedModeBanner: false,
    );
  }
}
If you observe the code, you can see the app bar’s title is Kodia (We use Scaffold to create an app bar title. ) and, I did call a new Stateless widget class called ‘Website()’.
The Website class’s build method has a widget called WebView. Flutter uses the WebView widget to load webpage inside your flutter app
How to add Flutter WebView Dependency?
Step 1 goto https://pub.dev/packages/webview_flutter
Step 2 : Copy the Flutter WebView Dependency
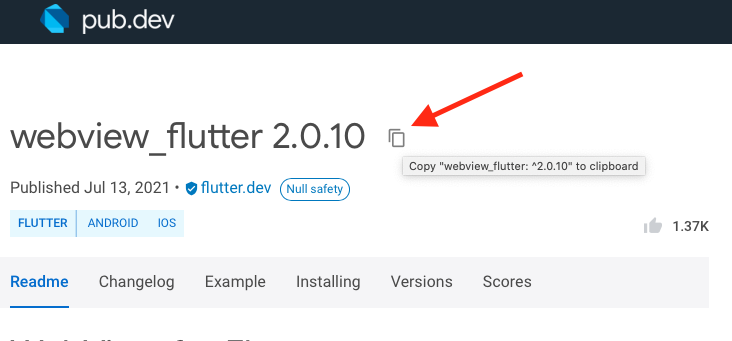
Now let’s Add webview_flutter as a dependency in your pubspec.yaml file.
Open pubspec.yaml file from your Project
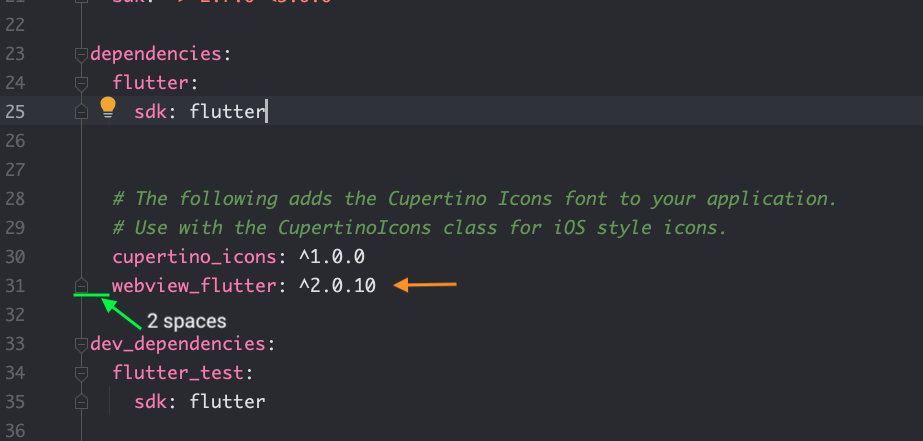
Add this WebView dependency to just underneath of cupertino_icons. Save or Click the Pub get (link) from Android Studio.
WebView usage
Let’s import the package
import 'package:webview_flutter/webview_flutter.dart';WebView(
initialUrl: 'https://kodia.dev',
);the initialURL parameter is applied to load the page by URL.
main.dart (Full Code)
import 'package:flutter/material.dart';
import 'package:webview_flutter/webview_flutter.dart';

void main() => runApp(WebApp());

class WebApp extends StatelessWidget
{
  @override
  Widget build(BuildContext context) {
    return MaterialApp(
      theme: ThemeData(primarySwatch: Colors.red),
      home: Scaffold(
        appBar: AppBar(title: Text("Kodia"),),
        body: Website(),
      ),
      debugShowCheckedModeBanner: false,
    );
  }
}
class Website extends StatelessWidget
{
  @override
  Widget build(BuildContext context) {
    return WebView(
      initialUrl: 'https://kodia.dev',
    );
  }
}
Congratulation Let’s run the app.
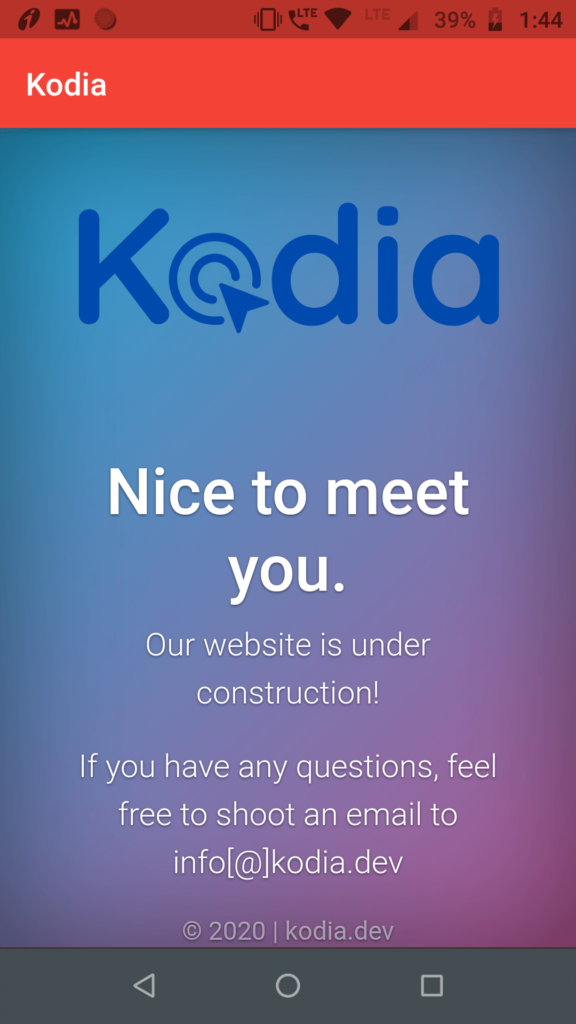
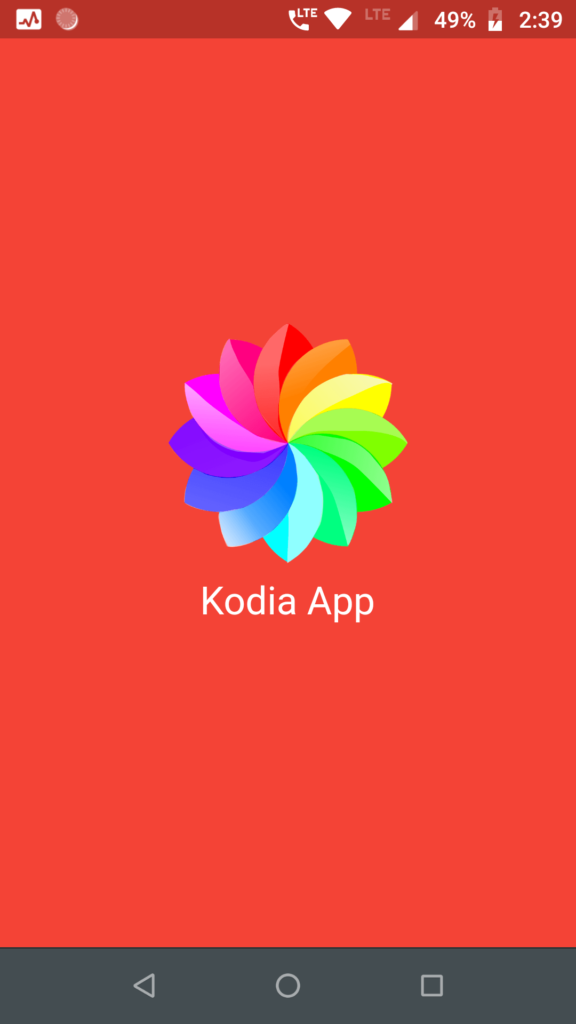
Let’s build a splash Screen for our web app
You can use any logo for your app. (eg. logo.png )
Learn more about displaying images on Flutter.
Create a new folder – assets/images. Let’s add your logo inside the images folder.
Make changes to pubspec.yaml file.

Create a new file called ScreenOne.dart (New > Dart File > ScreenOne)
MyApp Class (ScreenOne.dart)
class MyApp extends StatelessWidget {
  @override
  Widget build(BuildContext context) {
    return MaterialApp(
      theme: ThemeData(
        primarySwatch: Colors.red,
      ),
      home: Scaffold(
        backgroundColor: Colors.red,
        body: HomeApp(),

      ),
      debugShowCheckedModeBanner: false,
    );
  }
}
Timer for Splash Screen
Timer(
    Duration(seconds: 4),
    () => Navigator.pushReplacement(
        context, MaterialPageRoute(builder: (context) => WebApp())));
ScreenOne.dart (Full Code)
import 'dart:async';
import 'package:flutter/material.dart';
import 'WebApp.dart';

void main() => runApp(MyApp());

class MyApp extends StatelessWidget {
  @override
  Widget build(BuildContext context) {
    return MaterialApp(
      theme: ThemeData(
        primarySwatch: Colors.red,
      ),
      home: Scaffold(
        backgroundColor: Colors.red,
        body: HomeApp(),

      ),
      debugShowCheckedModeBanner: false,
    );
  }
}

class HomeApp extends StatefulWidget {
  _HomeAppState createState() => _HomeAppState();
}

class _HomeAppState extends State<HomeApp> {
  @override
  void initState() {
    super.initState();
    Timer(
        Duration(seconds: 4),
        () => Navigator.pushReplacement(
            context, MaterialPageRoute(builder: (context) => WebApp())));
  }

  @override
  Widget build(BuildContext context) {
    return Column(
      mainAxisAlignment: MainAxisAlignment.center,

      children: [
        Align(
          alignment: Alignment.center,
          child: Image.asset(
            'assets/images/logo.png',
            width: 200,
            height: 150,
          ),
        ),
        SizedBox(
          height: 10,
        ),
        Align(
          alignment: Alignment.center,
          child: Text(
            "Kodia App",
            style: TextStyle(fontSize: 24, color: Colors.white),
          ),
        )
      ],
    );
  }
}



![Flutter AdMob Integration Tutorial: Banner Ad [2023]](https://bigknol.com/wp-content/uploads/2023/07/flutter_app_admob_integrate_android-520x245.png)
